What is the YFM Teeth Whitening Kit
The YFM Teeth Whitening Kit is a home-use product designed to brighten your smile and remove stains from your teeth. It typically includes a whitening gel, an LED light, and sometimes a mouth tray. YFM kits are created for ease of use and provide a convenient way to achieve professional-looking results in the comfort of your home. They are formulated to tackle common stains from coffee, tea, wine, and other food and beverages. The kit often includes detailed instructions and everything you need to get started immediately. Its user-friendly design makes it a popular choice for those seeking a more affordable alternative to professional whitening treatments, allowing users to whiten their teeth on their schedule and at their convenience. Regular use, following the provided instructions, can lead to significant improvements in the brightness of your teeth.
Components of the YFM Whitening Kit
Understanding the components of your YFM Teeth Whitening Kit is crucial for effective and safe use. Typically, the kit contains the whitening gel, which is the active agent, often containing hydrogen peroxide or carbamide peroxide. It’s this ingredient that helps to break down stains and lighten the enamel. The kit also features an LED light, designed to accelerate the whitening process. The LED light emits a specific wavelength of blue light, which activates the whitening gel, enhancing its stain-removal capabilities. A mouth tray is another important component; it ensures that the whitening gel evenly covers the teeth. These trays are usually made of a flexible, comfortable material that fits most mouths. You may also find a shade guide included, allowing you to track your progress by comparing your teeth’s current shade to the shades on the guide. This helps you to monitor and celebrate the improvements in your teeth’s whiteness throughout the treatment period.
The YFM Teeth Whitening Process

The YFM teeth whitening process involves several key steps, all designed to deliver the best possible results. First, you will prepare your teeth by brushing them, ensuring all food particles and debris are removed. After brushing, you’ll apply the whitening gel to the mouth tray, typically following the kit’s specific instructions for the amount to use. Next, the mouth tray, loaded with the gel, is carefully inserted into your mouth, ensuring all teeth are covered. Then, the LED light is used, usually placed near the mouth tray to intensify the whitening action. The light needs to be in the correct position and should remain in that position for the time instructed by the kit instructions. This is typically a set duration of time. When the timer is up, the tray is removed, and your mouth should be rinsed with water to remove any remaining gel. This entire process is designed to be straightforward, making it easy to incorporate into your daily or weekly routine, leading to a brighter and more confident smile.
Preparing for the YFM Whitening
Preparation is key to a successful YFM teeth whitening experience. Begin by carefully reading the instructions that come with your kit to understand the recommended process, time, and any specific guidelines. Before starting, brush your teeth thoroughly. This removes surface debris and allows the whitening gel to work more effectively. Ensure your teeth are clean and dry before applying the gel. If you have any pre-existing dental work, such as fillings, crowns, or veneers, consult your dentist, as the whitening gel may not affect these in the same way as natural teeth. Also, it is a good idea to assess your teeth shade with the provided shade guide before you begin, so you can properly track your results. Make sure you have all the necessary components and are set up in a comfortable environment to perform the treatment. Proper preparation will not only enhance the results but also ensure the process is as comfortable and effective as possible.
Step 1 Brushing your Teeth
The first crucial step in the YFM teeth whitening process is brushing your teeth. This might seem basic, but thorough brushing is essential for optimizing the whitening results. Start by brushing your teeth with a regular toothpaste, ensuring that you clean all surfaces of your teeth, including the front, back, and chewing surfaces. You should brush for at least two minutes, using gentle, circular motions. Brushing removes surface debris, such as food particles and plaque, which can prevent the whitening gel from effectively contacting your teeth. Make sure to rinse your mouth well after brushing to remove all toothpaste residue. It is best to brush your teeth right before you begin the whitening process. This step helps to create a clean surface, maximizing the effectiveness of the whitening treatment and helping you achieve a brighter smile.
Step 2 Applying the Whitening Gel

After brushing, the next step is applying the whitening gel. The YFM kit will provide specific instructions on how much gel to use; typically, it is a small amount for each tooth in the mouth tray. Carefully squeeze the gel into the mouth tray, ensuring that it covers each tooth evenly. Be careful not to overfill the tray, as this can cause the gel to come into contact with your gums, which may cause sensitivity. Always handle the gel carefully and avoid getting it on your skin. The amount of gel used will depend on the specific formulation of your YFM kit. It is vital to follow the manufacturer’s instructions precisely to achieve the best results while minimizing any potential side effects. The even application of the gel ensures that all teeth receive the whitening treatment uniformly, leading to a more consistent and effective whitening effect.
Step 3 Using the LED Light
Once the gel is applied to the tray, it is time to use the LED light. Place the mouth tray with the gel-covered teeth into your mouth. Make sure the tray sits comfortably and that all your teeth are covered with the gel. Insert the LED light into your mouth, following the instructions to make sure the light is positioned correctly, and turn it on. The LED light will then activate the whitening gel, enhancing its effectiveness. The duration for using the LED light will vary depending on the specific YFM kit, so always check the instructions. This activation process accelerates the chemical reaction of the whitening process, giving you faster and better results. It is important to sit still during this process to ensure the light is effective. This combined action of the gel and light boosts the whitening power and helps you achieve your desired brighter smile.
Step 4 The Whitening Time
The duration for teeth whitening with the YFM kit is crucial for achieving optimal results, and this varies depending on the specific product. Typically, the instructions will specify the time for which you should wear the tray with the whitening gel and the LED light. The duration can range from a few minutes to half an hour, and it’s essential to adhere to the recommended time to avoid any adverse effects such as gum irritation. Setting a timer is an excellent way to keep track, and avoid exceeding the recommended time. During this time, try to relax and avoid moving your head too much to ensure the tray and light remain properly positioned. Consistent adherence to the advised whitening time is critical, as overexposure can potentially cause increased sensitivity or other undesirable outcomes. So, follow the instructions carefully for the safest and most effective teeth whitening experience.
Step 5 Rinsing and Aftercare

After the whitening process is complete, the final step is rinsing and aftercare. Remove the mouth tray and LED light from your mouth. Rinse your mouth thoroughly with water to remove any remaining whitening gel. It is important to spit out the water and avoid swallowing any residual gel. After rinsing, it is best to brush your teeth again. However, if you experience sensitivity, wait a while before brushing. Rinse the mouth tray with water and let it dry before storing it. Avoid eating or drinking anything with strong colors, such as coffee, tea, or red wine, immediately after the treatment, as your teeth will be more susceptible to staining. Regularly use a toothpaste for sensitive teeth, and continue to follow your oral hygiene routine, including brushing and flossing, to maintain the whitening results. This aftercare helps to protect your teeth and ensures the longevity of the whitening effects, keeping your smile bright.
Best Practices for YFM Whitening
To get the best results from your YFM teeth whitening kit, there are several best practices to keep in mind. Always follow the kit’s instructions precisely. Don’t exceed the recommended treatment time, as overexposure can increase sensitivity and potentially harm your teeth. Maintain good oral hygiene by brushing and flossing regularly to remove surface stains, as this will enhance the whitening treatment’s effectiveness. Limit the consumption of staining foods and drinks, such as coffee, tea, red wine, and dark-colored berries, especially immediately after a whitening session. Use a toothpaste designed for sensitive teeth if you experience any discomfort. Store your kit properly, keep the whitening gel in a cool, dry place away from direct sunlight. Regular use of your YFM whitening kit, as directed, combined with these best practices, will significantly improve your smile, making it brighter and boosting your confidence.
Maintaining Your Bright Smile
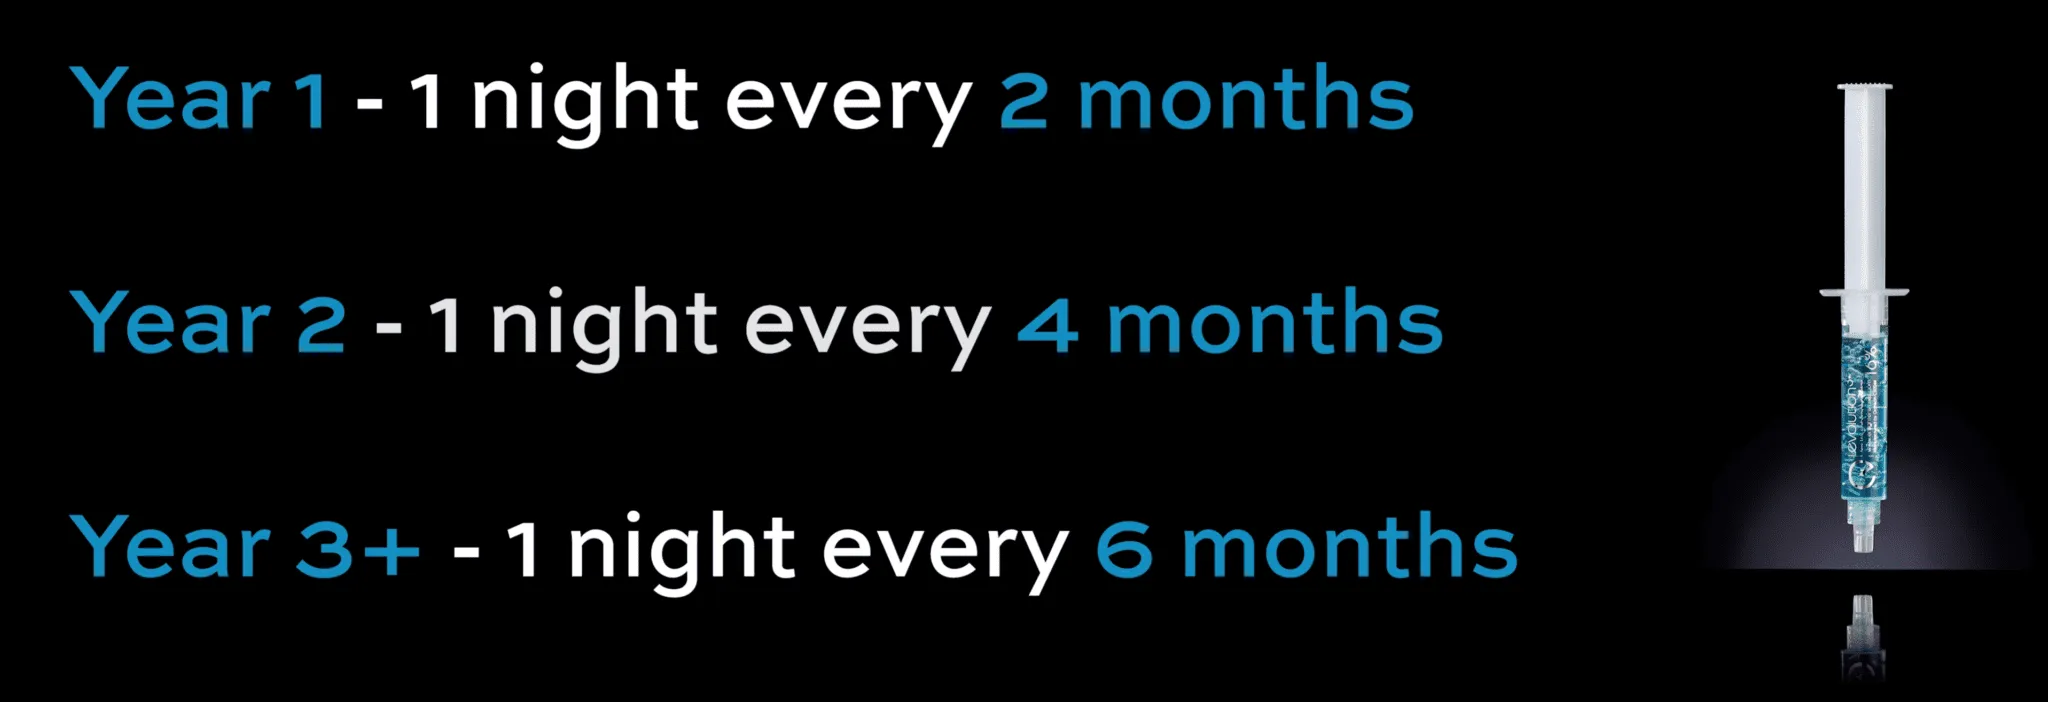
Maintaining your newly whitened smile requires ongoing care and attention. Avoid smoking, as tobacco use can quickly stain teeth. Limit your intake of staining foods and beverages. Consider using a whitening toothpaste or mouthwash to help maintain your results, but be sure to do so in moderation to prevent tooth sensitivity. Schedule regular dental check-ups and cleanings. Your dentist can professionally clean your teeth and provide additional advice for keeping your smile bright. You might need to use the YFM kit occasionally for touch-ups, to keep your teeth bright. This regular maintenance is key to preserving your beautiful, bright, and confident smile for the long term.